Raspberry Pi Web Browser Access: How-To Guide & Tips
Are you ready to unlock the full potential of your Raspberry Pi with seamless remote access? Gaining access to your Raspberry Pi through a web browser is not just a convenience; it's a gateway to enhanced control, simplified management, and a world of possibilities for developers, hobbyists, and tech enthusiasts alike.
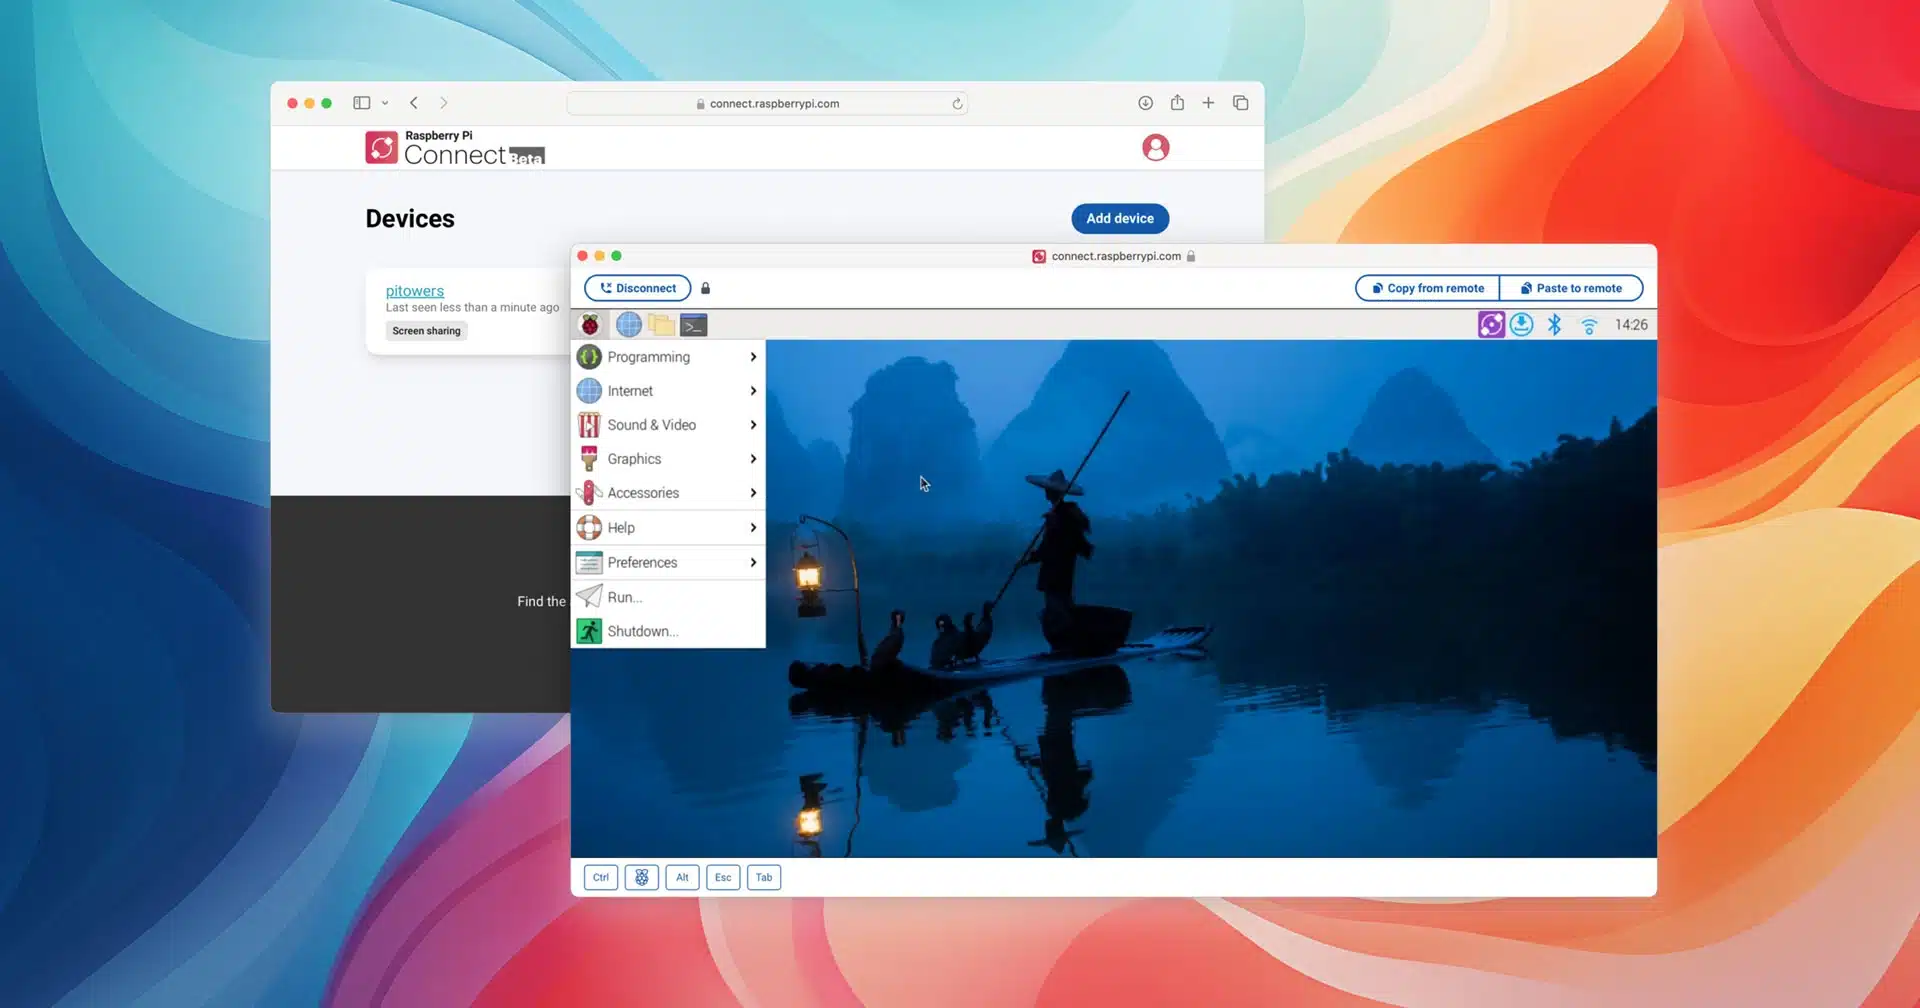
The digital landscape is rapidly evolving, and the ability to remotely manage devices has become an indispensable skill. Raspberry Pi, a compact yet powerful single-board computer, offers numerous avenues for remote interaction. One of the most accessible and versatile methods is through a web browser interface. This approach transforms your Pi into a readily manageable server, allowing you to oversee projects, monitor performance, and execute commands from virtually anywhere with an internet connection. This article will explore the various methods of accessing your Raspberry Pi through a web browser, offering detailed insights, practical applications, and essential troubleshooting tips to ensure a smooth and efficient experience. The possibilities are truly expansive, from custom web servers displaying project status to the installation of file browser web interfaces, making remote management of your Pi not just feasible, but remarkably user-friendly.
Many projects involving Raspberry Pi often require running a web server. This could involve creating your own custom web server to display status pages for your projects, or installing a file browser web interface on the Raspberry Pi. Let's delve deeper into the functionalities and methods of establishing this pivotal connection.
Raspberry Pi Web Browser Access
Accessing your Raspberry Pi from a web browser opens up a world of possibilities. This can range from basic tasks like file management to complex operations like controlling your Pi's hardware components. Whether you're a seasoned developer or a curious hobbyist, the ability to manage your Raspberry Pi remotely through a web browser streamlines your workflow and enhances its functionality. Let's break down the key aspects of achieving this:
Methods of Accessing Your Raspberry Pi Through a Web Browser
- Web-based File Browsers: These are interfaces that allow you to navigate the file system on your Raspberry Pi via a web browser. They are particularly useful for managing files, uploading/downloading data, and general file organization.
- Custom Web Servers: If you're working on a specific project, you can set up a custom web server on your Raspberry Pi. This server can display status updates, control the Pi's hardware, or serve as an interface for your project.
- Terminal Access via Web Browser: This allows you to access the command-line interface (CLI) of your Raspberry Pi directly from your web browser. This provides full control over the Pi and allows you to run commands, install software, and configure the system.
Tools and Technologies
Various software and interfaces facilitate web browser access to your Raspberry Pi. Some popular choices include:
- Webmin: A powerful web-based system administration tool that allows you to manage almost every aspect of your Raspberry Pi.
- Uugear Web Interface (UWI): A lightweight web server that allows you to access your Raspberry Pi and other Uugear devices through a web browser, consuming minimal system resources.
- File Browser: Specifically designed for file management, allowing you to upload, download, and organize files on your Raspberry Pi.
- Custom Web Applications: You can develop your own web applications using languages like Python, JavaScript, or PHP to control or monitor your Raspberry Pi.
Setting Up Web Browser Access
Let's walk through the process of setting up web browser access to your Raspberry Pi, using a few common methods:
1. Installing a File Browser Web Interface
Installing a file browser web interface is a straightforward way to manage files on your Raspberry Pi remotely. This usually involves installing software like File Browser, and then accessing it via your web browser.
- Update the Raspberry Pi: Start by updating your Raspberry Pi's software using the terminal. Run the command: `sudo apt update && sudo apt upgrade`.
- Install File Browser: Use the command `sudo apt install filebrowser` or follow the specific installation instructions for your chosen file browser.
- Configure File Browser: Configure the file browser to set up a username and password for secure access.
- Access via Web Browser: Once installed and configured, you can access the file browser by entering the Raspberry Pi's IP address and the appropriate port (often port 80 or 8080) into your web browser.
2. Accessing the Terminal from a Web Browser
Accessing the terminal via a web browser provides you with full control over your Raspberry Pi, allowing you to run commands, install software, and configure the system from a remote location.
- Choose a Web Terminal: Several options are available, such as Shell In A Box or ttyd.
- Install the chosen terminal: Use the command `sudo apt install shellinabox` for Shell In A Box or `sudo apt install ttyd`.
- Configure the Terminal: Configure the chosen terminal to run on the Raspberry Pi, usually by setting up the necessary ports.
- Access via Web Browser: Open a web browser and enter the IP address of your Raspberry Pi followed by the port number (e.g., `http://:4200` for Shell In A Box).
3. Setting up Custom Web Servers
If you're working on a project that requires a custom interface, setting up a web server is the way to go. You can use various web server software such as Apache or Nginx along with languages like Python or PHP to develop a tailored web interface for your needs.
- Install Web Server Software: Install a web server of your choice: `sudo apt install apache2` or `sudo apt install nginx`.
- Configure the Web Server: Set up your web server to serve files from a specific directory. This will be where your web files reside.
- Develop the Web Interface: Create HTML, CSS, and JavaScript files (or use a server-side language like Python or PHP) to build the interface for your project.
- Access via Web Browser: Access your web interface by entering the Raspberry Pi's IP address into your web browser.
Troubleshooting Common Issues
While accessing your Raspberry Pi through a web browser is generally straightforward, you may encounter some issues. Here are some common problems and their solutions:
- Cannot Access the Web Interface:
- Check the IP Address: Make sure you are using the correct IP address of your Raspberry Pi. You can find this by checking your router or by using the command `hostname -I` in the terminal.
- Check the Port: Ensure that you are using the correct port number. Common ports are 80 (HTTP), 8080, or 443 (HTTPS).
- Firewall Issues: Ensure your firewall is not blocking the connection. You may need to open the necessary ports on your Raspberry Pi's firewall.
- Slow Web Browsing:
- Clear Browser Cache: Sometimes, a cached version of a webpage can cause issues. Clear your browser's cache and try again.
- Optimize Web Server: If your web server is overloaded, it can cause slow browsing. Optimize your web server's settings or consider using a more lightweight server.
- Consider Hardware: Web browsing can be slow on older Raspberry Pi models, particularly those with limited RAM.
- Security Concerns:
- Use HTTPS: Always use HTTPS to encrypt your connection and protect sensitive data.
- Strong Passwords: Use strong, unique passwords for your Raspberry Pi and any web interfaces you set up.
- Keep Software Updated: Regularly update your Raspberry Pi's software to patch security vulnerabilities.
Uugear Web Interface (UWI)
The Uugear web interface (UWI) is a lightweight option designed to provide easy access to your Raspberry Pi and Uugear devices through a web browser. One of the key advantages of UWI is its minimal system resource usage, making it suitable for even the Raspberry Pi Zero (W). It supports three devices: the Raspberry Pi, and other Uugear devices.
To begin, you will need:
- A headless Raspberry Pi 3B+ running a fresh installation of Retropie (no display, no speakers, and no gamepad controllers are necessary).
- A wired connection of the Raspberry Pi to the LAN; a Gigabit Ethernet is recommended.
- Optionally, a wireless PC or Android smartphone, or any other device with a stock browser.
Advanced Usage and Applications
Beyond basic remote access, the ability to access your Raspberry Pi via a web browser unlocks a wealth of possibilities. Consider these advanced applications:
- Automated Home Systems: Manage your home automation systems, controlling lights, appliances, and security systems.
- Remote Monitoring: Monitor sensors, collect data, and display real-time information from your Pi.
- Media Servers: Control your media server, browse files, and play media directly from your web browser.
- Custom Project Interfaces: Develop custom web interfaces to interact with your projects, displaying status updates, running commands, and controlling hardware components.
Raspberry Pi 4 as a Web Browser
Using a Raspberry Pi 4 as a web browser is another use case. For users interested in using a Raspberry Pi 4 as a web browser to access a web server running on another device, wired or Wi-Fi connections are possible, and a 7 touchscreen can be added for a more interactive experience. It's important to remember that the Raspberry Pi 4 can handle basic web browsing effectively, but performance can be limited by its processing power and RAM, especially with many tabs open.
In situations where you're experiencing issues, starting by clearing the browser cache is a good first step. Additionally, using a lightweight web browser or limiting the number of open tabs can significantly improve browsing performance. It's also a good idea to keep your operating system and browser software up to date to ensure you have the latest security patches and performance improvements.
Security Best Practices
When accessing your Raspberry Pi through a web browser, prioritize security. Here are some essential security measures:
- Use HTTPS: Implement HTTPS to encrypt all web traffic between your browser and the Raspberry Pi.
- Strong Passwords: Enforce strong, unique passwords for the Pi's user accounts and any web interfaces.
- Keep Software Updated: Regularly update the Raspberry Pi's operating system and all installed software to patch known vulnerabilities.
- Firewall Configuration: Configure a firewall to restrict access to necessary ports only.
- Two-Factor Authentication (2FA): If available, enable 2FA for added security.
- Monitor Logs: Regularly review logs for any suspicious activity.
Additional Considerations
When setting up web browser access, keep the following in mind:
- Network Configuration: Ensure your Raspberry Pi has a static IP address for reliable remote access.
- Port Forwarding: If accessing from outside your local network, you'll need to configure port forwarding on your router.
- Performance Optimization: Optimize your web server and web applications to minimize resource usage and improve performance.
- Hardware Requirements: Consider the hardware requirements of your chosen web interface and applications. More complex applications may require a more powerful Raspberry Pi model.
The Future of Raspberry Pi Web Access
As technology advances, web access to Raspberry Pi devices will continue to evolve. We can expect to see more user-friendly interfaces, enhanced security features, and improved performance. The continuous development of software and hardware will ensure that remote access remains a vital tool for developers, hobbyists, and tech enthusiasts. Embrace the possibilities, explore the options, and start managing your Raspberry Pi from anywhere today. Your digital projects are waiting to be controlled from the convenience of your web browser.
Conclusion
This comprehensive guide aims to provide a thorough understanding of accessing your Raspberry Pi from a web browser. By mastering these techniques, you unlock greater control, and enhanced functionality. The possibilities for remote management and project interaction are truly limitless.


