Control Raspberry Pi Via Web Browser: Find Solutions & Get Started!
Can you imagine a world where you can control your home's lights, appliances, and even your entire security system with just a few taps on your phone or a command from your web browser? The future of home automation is here, and at its heart lies the power of the Raspberry Pi, a tiny computer capable of extraordinary feats, all accessible through the magic of web-based control.
For those eager to delve into the realm of the Internet of Things (IoT) and home automation, the Raspberry Pi offers an accessible and affordable entry point. This article explores how to harness the capabilities of this miniature marvel to create a web-controlled system, specifically focusing on remotely controlling an LED. It's a project that allows you to explore the foundational principles of web server design, microcontroller interaction, and the power of network connectivity, all while enjoying the satisfaction of building something tangible and useful. This project is more than just about turning an LED on and off; it's a stepping stone into a world of possibilities, enabling you to learn, experiment, and customize your own smart home solutions.
We'll focus on controlling a basic function: turning an LED on or off. This simple task allows us to cover the fundamental concepts without being bogged down by complexity. We will examine how to set up the Raspberry Pi, create a basic web application, and interface with the Raspberry Pis general-purpose input/output (GPIO) pins to control the LED. This approach breaks down the process, making it easier to understand and allowing you to build upon the concepts as you create more complex projects. This project provides a hands-on experience with the basic principles of IoT, setting the stage for more advanced home automation endeavors.
| Category | Details |
|---|---|
| Project Title | Web-Controlled LED with Raspberry Pi |
| Core Technology | Raspberry Pi, Web Server, GPIO Control, Networking |
| Objective | Remotely control an LED using a web browser. |
| Use Cases | Home automation, IoT experimentation, remote device control |
| Components | Raspberry Pi (any model with GPIO pins), LED, resistor, breadboard (optional), connecting wires |
| Software | Operating System (Raspberry Pi OS), Web Server (e.g., Apache, Python's built-in server), programming language (Python recommended), libraries (e.g., RPi.GPIO) |
| Difficulty Level | Beginner to Intermediate |
| Skills Learned | GPIO control, Web server setup, Network configuration, basic HTML/CSS, Python programming |
| Project Type | DIY, Educational |
The journey begins with selecting the right tools and resources. You'll need a Raspberry Pi (any model will do, though the Raspberry Pi Zero W or Raspberry Pi 4 are great choices), an LED, a current-limiting resistor (typically around 220-330 ohms to protect the LED), a breadboard (optional, but helpful for prototyping), connecting wires, and a power supply for your Raspberry Pi. On the software side, you'll require a suitable operating system (Raspberry Pi OS is the official and recommended choice), a text editor or Integrated Development Environment (IDE) to write your code, and a web server. For beginners, Python with its built-in server is an accessible option. It offers ease of setup and allows you to get up and running quickly. To control the GPIO pins, you'll use a library like RPi.GPIO (for older Raspberry Pi models) or gpiozero (which simplifies the interaction).
With the hardware assembled, the next step involves the crucial task of setting up the Raspberry Pi. Install the Raspberry Pi OS on a microSD card using the Raspberry Pi Imager tool. This process writes the operating system image to the card, ready to be used in the Pi. Once the OS is installed, boot your Raspberry Pi with the microSD card inserted. Connect the Raspberry Pi to your network either via Ethernet or Wi-Fi. To connect via Wi-Fi, configure the network settings during the initial setup. Make sure the Raspberry Pi has access to the internet, as you'll need to download software and libraries. Once the Raspberry Pi is connected, it is helpful to configure a static IP address. This means the device will have a consistent IP address, which makes it easier to access it remotely from your web browser. You can configure this either through the Raspberry Pi's network configuration files or through your router's settings. This step is vital for future access.
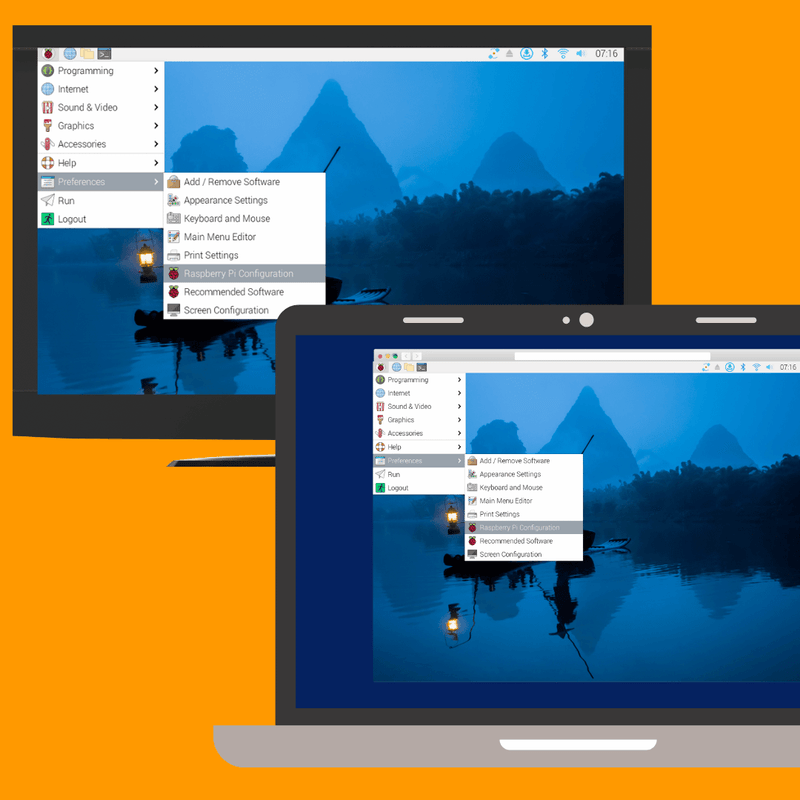
In the following steps, we will focus on how to establish a basic web server on the Raspberry Pi. Web servers act as the intermediary between your web browser and the Raspberry Pi. There are many web server options, but for simplicity and ease of use, we can use Pythons built-in web server. Python is the programming language of choice for this project and offers numerous advantages, including a comprehensive library ecosystem and user-friendliness. This enables you to create the web application that will control the LED. To get started, install Python if it's not already present on your Raspberry Pi. Then, write the HTML code for your web page. This HTML page will feature a button (or buttons) that, when clicked, will send commands to the Raspberry Pi to turn the LED on or off. In this design, the LED's state (on/off) reflects the state of the web server's button functionality.
A fundamental part of this project involves interfacing with the Raspberry Pi's GPIO pins. The GPIO (General-Purpose Input/Output) pins allow the Raspberry Pi to interact with the physical world. Each pin can be configured as an input or an output, which means they can receive signals from external devices or send signals to control them. The most common way to control the GPIO pins is by using a Python library such as RPi.GPIO. You'll need to install this library on your Raspberry Pi. Then, in your Python script, you'll use the library to set the LED's GPIO pin as an output and control its state based on the commands received from the web page.
The setup of a web server is the next step in the process. While there are many web server options, Python's built-in web server provides a straightforward path to achieving this goal. You will create a Python script that not only serves the HTML web page but also handles requests from the web page. These requests contain commands to turn the LED on or off. When a command is received, the Python script uses the RPi.GPIO library (or similar) to control the corresponding GPIO pin that is connected to the LED.
To control the LED, you will need to connect it to a GPIO pin on the Raspberry Pi. To prevent damage to the LED, connect it in series with a current-limiting resistor. Connect the longer leg (anode) of the LED to the resistor and the resistor to a GPIO pin. The shorter leg (cathode) connects to the ground (GND) pin on the Raspberry Pi. The GPIO pin, when set to HIGH, will provide power to the LED, turning it on; when set to LOW, the LED will turn off. Make sure you check the pinout diagram for your Raspberry Pi model to identify the correct GPIO and GND pins. With these connections set up correctly, you can then write Python code to control the LED through this GPIO pin.
The web application is the visual interface that allows you to interact with your Raspberry Pi and, by extension, the LED. The web application is built using HTML, which defines the structure, and potentially CSS, for styling. Within the HTML, you'll create a button (or buttons) that the user can click to send commands to the server. When a button is clicked, the web browser sends a request to the Python web server. The web server then processes this request. For example, if the "Turn On" button is clicked, the server will receive a command to turn the LED on. The Python script then calls the RPi.GPIO library (or a similar library) to set the appropriate GPIO pin to HIGH. The result is that the LED lights up. The web page is responsible for the user experience. It is simple, easy to use, and provides feedback to the user about the LED's status.
As you progress through this project, the concepts of networking become increasingly relevant. The Raspberry Pi needs to be connected to a network to allow it to be controlled remotely through the web browser. Networking involves assigning an IP address to the Raspberry Pi, either statically or dynamically. Static IP addresses are preferred for this project as they provide a predictable address that simplifies remote access. Additionally, you might need to configure your router to forward traffic from the internet to the Raspberry Pi if you want to access the LED control from outside your local network. This is achieved by setting up port forwarding on your router. The networking aspect of this project is a fundamental step in making the project an IoT device. It opens the door for controlling the LED from anywhere in the world with an internet connection.
Testing and debugging are crucial steps in any project, and this is no different. First, ensure that your wiring is correct. Incorrect wiring can lead to unpredictable behavior, even damage, to your components. Use a multimeter to verify connections and make sure that the correct GPIO pins are connected to the LED and resistor. Next, test your Python script. The script's role is to handle the incoming requests from the web page and control the GPIO pins. Run the script on your Raspberry Pi and check for any error messages in the terminal. Verify that the web server is running by typing the Raspberry Pi's IP address into your web browser. If the web page loads, it is a good sign that the web server is working correctly. Finally, test the functionality of the web page. Click the buttons and observe the behavior of the LED. If the LED doesnt turn on or off, go back and review your code, connections, and the web server configuration. The ability to debug your code is essential.
Once your web-controlled LED is working, you can expand the project. The possibilities are vast. Home automation opens the door to controlling more devices, collecting data, and integrating different services. A good starting point is to add more LEDs, each controlled by a separate button. This can expand into more complex tasks. Next, you can introduce sensors to the project. For example, you can add a light sensor and have the LED turn on automatically when the room is dark. You could also add a temperature sensor and make the LED react to temperature changes. Beyond home automation, the Raspberry Pi can be used for a multitude of other IoT projects. You can build a weather station, a security camera, or a smart irrigation system. The versatility of the Raspberry Pi, combined with the flexibility of Python, means that the possibilities for your project are practically limitless.
One example to illustrate the versatility of the Raspberry Pi is creating a smart home system. The basic building blocks of home automation, such as remote control via a web browser, are already present in the LED control project. You can extend the project by connecting relays to control appliances or lights. The relays are electronic switches that can handle higher voltages and currents than the Raspberry Pi can safely provide. To implement this extension, connect a relay to the GPIO pin, and then connect the appliance to the relay. Using this configuration, you can control lights, fans, and other devices remotely. You can further enhance this home automation system by adding sensors to provide feedback. For example, using a motion sensor, you can automatically turn on the lights when motion is detected. The Raspberry Pi can also be integrated with services like IFTTT (If This Then That) to create more complex automations.
Consider the potential to integrate your system with voice control. You can use a voice assistant, like Amazon Alexa or Google Assistant, to control your appliances. Setting up this integration involves a few steps. First, you need to configure a voice assistant. Then, you'll need to create a skill or action that allows the voice assistant to communicate with your Raspberry Pi. Using Python libraries, such as the Alexa Skills Kit or the Google Assistant SDK, you can create an interface between your voice assistant and the Raspberry Pi's web server. Voice commands are sent to the web server, which then controls the GPIO pins and the devices connected to them. This allows you to control your devices hands-free, enhancing the convenience and ease of use of your home automation system. The voice control opens a new dimension of interaction with your smart home.
You can add features and expand the scope of your project with each new skill. The goal is to make a system that is accessible from any device, whether its a mobile phone, tablet, or desktop computer. The ability to access your smart home remotely adds convenience and control, even when youre away. This capability requires that you configure your Raspberry Pi and router correctly. It involves setting up port forwarding and ensuring that the Raspberry Pi has a public IP address. You may also consider using a dynamic DNS service to update your Raspberry Pi's IP address. This enables you to access your home network from anywhere in the world, offering true control and peace of mind.
The initial steps of the LED control project provide a solid foundation for the entire range of home automation projects. As you experiment with more complex projects, like connecting relays, adding sensors, and integrating voice control, you will develop a deeper understanding of the core concepts. The project you are building allows you to learn the basics of building a web server, connecting to GPIO pins, and connecting to the internet. Moreover, it is an excellent introduction to the basics of the Raspberry Pi and its potential. Your project can evolve from a single LED control into a full-featured smart home system. The possibilities are limited only by your imagination and willingness to learn. This project can be the beginning of your journey into the world of IoT and smart homes.

